Origami Instructions Samurai Helmet. This is the front of our paper, the top part of our hat will be this colour. Origami samurai helmet step 4:
Trained in bushido “way of the warrior,” they focused on ethical self discipline, loyalty, and education. Fold it in half along the diagonal. Now fold the top layer below upwards into a small triangle covering the bottom of the horns.
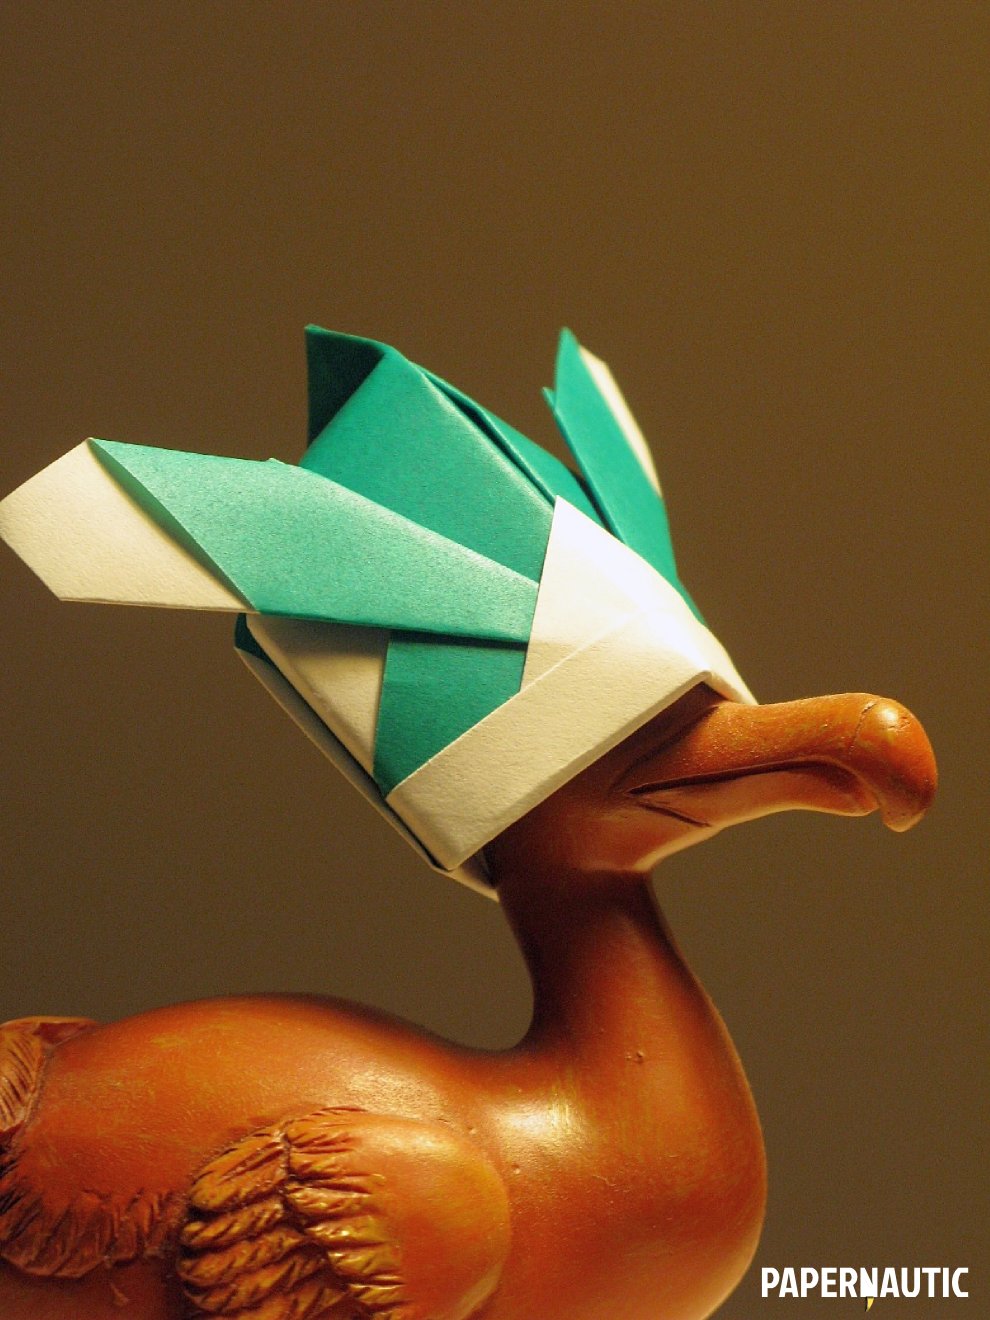
Samurai Hatt Made With Origami.
Crease along the fold, then open up the paper. Fold the right side to meet the crease in the center: Start with an origami paper color or pattern side down.
Step 2 Fold The Paper In Half Horizontally.
Kabuto is the japanese word for a traditional samurai helmet. Step 1 place the origami square in front of you, white side up. You will need one piece of origami paper to complete this origami project.
If You Use A Sheet Of Paper As Big As Newspaper To Make The Helmet, You Can Wear It And Pretend To Be A Samurai.
It should look exactly how it did when you started except for two crease lines dividing it into fourths. So that you form a “brim” to the helmet. So, make sure that there's no white showing.
Fold Outer Corners In To The Centre.
Origami samurai hat instructions start with paper white side up. The samurai helmet is a traditional japanese origami model which has been folded for many hundreds of years. Trained in bushido “way of the warrior,” they focused on ethical self discipline, loyalty, and education.
This Is The Back Of Our Paper, The Lower Part Of Our Hat Will Be This Colour.
Fold the final flap up along the bottom edge to crease it, then unfold. Now fold the left side over to meet the center crease. Origami samurai helmet the samurai helmet is a traditional japanese origami model which has been folded for many hundreds of years.


