Origami Bookmark Corner Instructions. Take the top layer of paper, at the top of the triangle, and fold the top to the bottom. Start by placing the paper with the corner facing you and the design facing down.
That will create a triangular shape. Open the top of the paper so you can see the blank side. Fold a piece of square origami paper in half, diagonally.
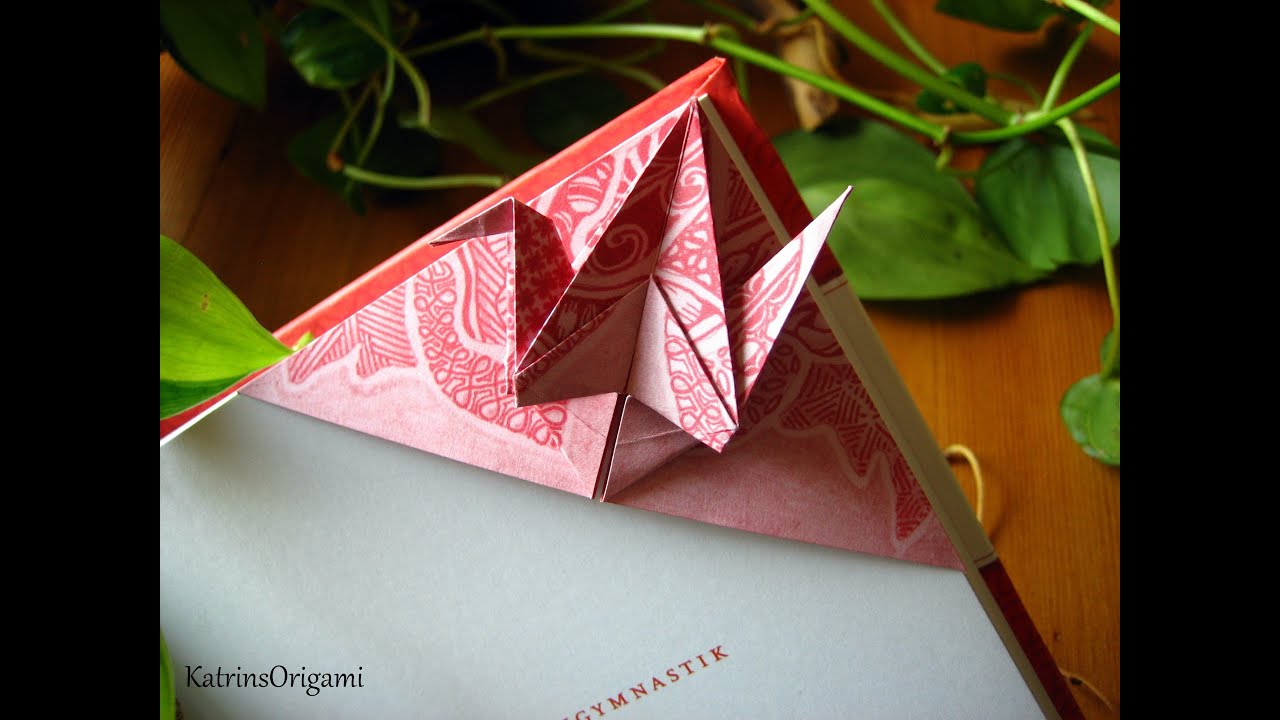
Take An Origami Craft Paper.
This will create a triangle. Make sure the printed side of the paper. Both colored areas should show on the top of the triangle.
Avoid Folding In The Heart Shape, Created By Flattening The Flaps And Folding Them Into Triangles, During This Step.
You should now have a square with a seam down the diagonal. This bookmark looks harder to make than it really is! Bring the left and right edges in to line up with the middle crease.
The Solid Colored Triangle Should Be Closest To The Bottom Corner.
Fold the paper in half by bringing the top point downwards over the bottom point. Flatten the paper by pushing on the left and right edges of the front flap. Unfold the tips and return paper to a triangle shape.
Now Take One Flap From The Middle.point.of The Triangle And Bring It Upwards And Fold It There.
It will now look like a square. That will create a triangular shape. You will get a shape of a triangle.
Place The Square Printed Side Down.
A bone folder will help you get the creases as crisp as possible. Open the top of the paper so you can see the blank side. Trim along lines to cut out the square.


